Bathroom wallpaper peeling usually comes from moisture, substrate and adhesive-system problems working together. Learn the real causes and how to diagnose them.
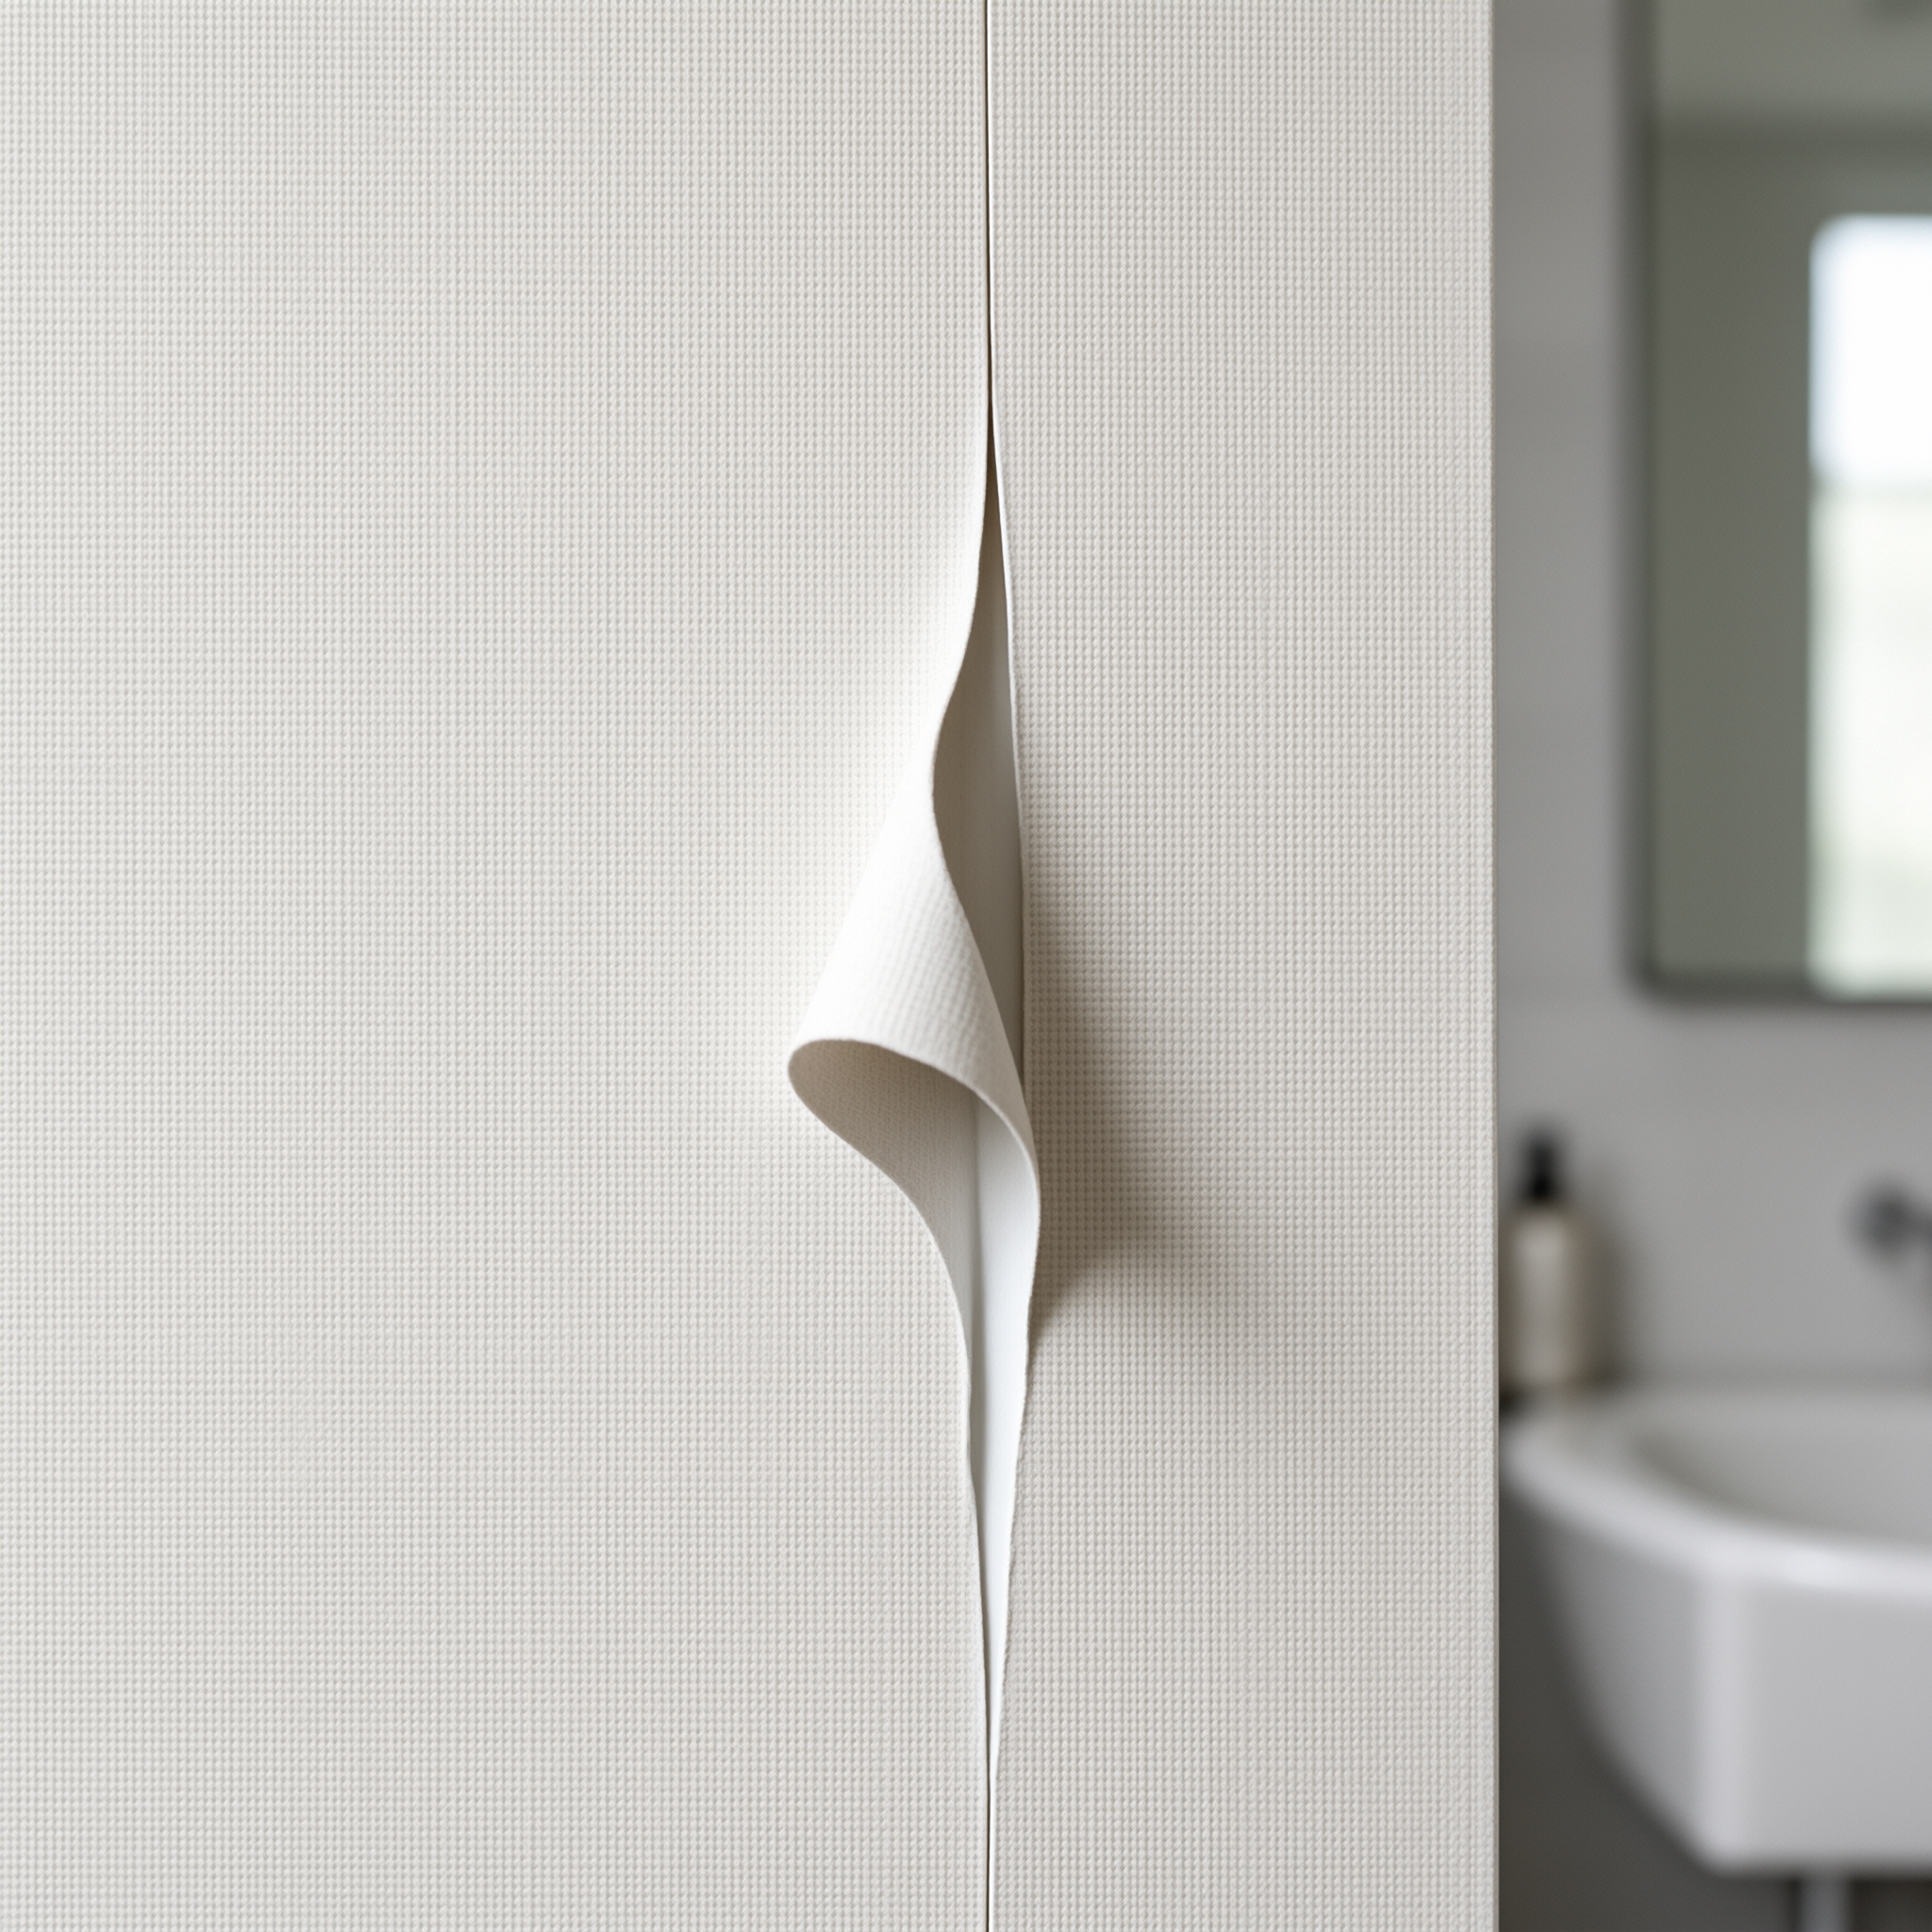
Bathroom wallpaper peeling is almost never caused by the wallpaper alone. It is the result of moisture, substrate condition, surface preparation, primer, adhesive and installation method interacting.
Steam and condensation soften standard pastes over time, edges lift first, and any weak point in the system — a dusty wall, glossy paint, the wrong primer or thin paste — makes the failure happen sooner. That is why identical wallcovering performs well in one bathroom and fails in the next.
Bathroom wallpaper peeling is usually a system failure, not an adhesive failure — moisture and wall preparation decide the outcome.
Key Takeaways
Peeling usually begins at seams and edges after repeated steam cycles, then spreads across the panel.
Standard cellulose paste softens under sustained humidity; a moisture-resistant adhesive suits bathrooms better.
Dust, grease, old paste and unsealed gypsum cause more failures than a faulty wallcovering.
A local re-stick only holds when the substrate is dry, sound and correctly primed.
Why Is My Bathroom Wallpaper Peeling? A Direct Answer
Peeling means the bond between wallcovering, adhesive and wall has failed somewhere along that chain. The wallcovering is usually the messenger, not the cause.
Adhesive release needs a path. Moisture enters at edges and micro-gaps, the paste film softens, and the bond lets go from the least-prepared surface in the stack. If the substrate never accepted the paste properly, that same cycle repeats at every seam.
Diagnostic practice splits failures into two families: bond failure, where the covering releases cleanly from the wall, and cohesive failure, where the substrate or facing tears. That single distinction narrows the cause list faster than any other check (general wallcovering diagnostic practice).
Humidity and Condensation: The Most Common Bathroom Trigger
Yes. Ask can humidity make wallpaper peel and the honest answer is that it rarely acts alone, but it is the most common trigger in bathrooms with limited airflow.
Water vapour passes through micro-gaps at seams and edges. Once inside, it softens the paste film; as the room cools, that film contracts and dries in a slightly stretched position. Repeat the cycle daily and the joint creeps open.
Wallpaper peeling humidity damage shows a predictable order: seams first, then the ceiling line, then broad panel release. Product standards such as EN 15102 (Decorative wall coverings, roll form) classify coverings by performance characteristics including washability — a practical flag when specifying for a room that sees daily condensation.
Direct Splash Zones vs Ambient Humidity: Why Location Matters
Splash and ambient humidity are different failure modes. Splash zones peel at edges and low seams; ambient humidity bubbles at the ceiling line and high walls.
Splash and Steam Zones
Direct water wets the covering itself. Vinyl wallcovering shrugs off surface droplets, but the adhesive at the joint absorbs water first and softens.
In a shower-over-bath layout, expect the earliest damage in the roughly 900 mm band above the bath rim. That is where droplets land most often and where seams sit closest together.
Ambient Humidity Zones
Ambient moisture works more slowly and more widely. Steam spreads across the whole room before condensing on the coolest surfaces, which are usually high wall and ceiling.
Damage here appears as bubbles, staining and broad release rather than a clean edge lift. By the time it shows, the covering has usually been damp behind the panel for weeks.
| Dimension | Splash & steam zone | Ambient humidity zone |
|---|---|---|
| Typical failure | Edge lift, seam opening | Bubbling, broad release |
| Speed of failure | Months — faster with weak seam adhesion | Slower — months to years |
| Wall surface | Vinyl or non-woven over sealed substrate | Porous substrate: gypsum, plaster |
| Main fix | Moisture-resistant adhesive plus sealed seams | Sealed substrate plus better ventilation |
Bathroom wallpaper failures usually start in the splash zone and migrate upward into the ambient zone as the bond weakens.
Poor Ventilation: The Hidden Amplifier of Wallpaper Failure
Poor ventilation does not cause peeling by itself, but it multiplies every other cause. A room that stays humid for hours after a shower shortens the working life of any wallcovering system.
An extract fan removes moisture only while it runs. If residual humidity stays high long after the shower ends, the paste film never fully re-cures between cycles and the bond stays soft.
In bathrooms we have inspected where the extract fan ran at least 15–20 minutes after each shower, edge lift was far less common than in rooms relying on an open window alone (observation across multiple residential installs). Poor ventilation wallpaper peeling is therefore an amplifier, not a standalone diagnosis.
Wet, Unstable, or Unsuitable Substrates
Wet or unstable substrates are the deepest cause of failure. Wallpaper wall preparation is not cosmetic — if the wall stays damp, moves, or powders under a fingernail, no adhesive will hold it.
Gypsum board that has taken on moisture loses surface integrity, and plaster can stay hygroscopic long after it feels dry to the hand. Adhesive needs a coherent, dry surface to key into; a powdery or damp layer simply shears away.
General installation guidance treats substrate condition as a precondition for adhesion rather than an afterthought — see ISO wallcovering and surface preparation standards. Can poor wall preparation cause wallpaper failure? Yes — it is often the root cause behind broad, non-seam peeling rather than neat edge-only lift.
Dust, Grease, Soap Film and Other Surface Contamination
Dust, grease and soap film stop paste from reaching the wall. The adhesive bonds to the contaminant, and the contaminant releases from the substrate.
Dust creates a weak boundary layer between paste and wall. Grease and soap scum are hydrophobic, so water-based paste never properly wets the surface and grips at a fraction of its normal strength.
A 300 mm square wipe test with a clean white cloth is the fastest check. Grey residue means dust; a slick or soapy film means the wall needs a degreaser and a full rinse before priming — otherwise seam edges lift first.
Wrong Primer, Wrong Adhesive: System Compatibility Explained
The primer and the adhesive must match each other and the wallcovering. A correct wallpaper adhesive on the wrong primer fails the same way as a wrong adhesive on a correct primer.
A porous, correctly primed surface lets the paste mechanically key into the wall. A sealed, glossy or contaminated surface does the opposite — the paste sets as a film sitting on top, and that film releases as soon as it takes on moisture.
A common case we see: vinyl wallcovering installed over sealed gloss paint with a standard cellulose paste. Edges lift within months, the homeowner re-glues them, and the lift returns after every shower cycle — the substrate interface, not the wallcovering, is the failure point. Most bathroom wallpaper adhesive failure traces back to this mismatch rather than to a defective product. Adhesion and substrate-preparation methods are covered in ASTM standards for wallcovering adhesion testing.
| System | Best suited to | Weak point in bathrooms |
|---|---|---|
| Cellulose paste + porous primer | Paper wallcovering, dry rooms | Softens under sustained steam |
| Moisture-resistant adhesive + acrylic primer | Vinyl and non-woven in wet rooms | Higher cost per roll |
| No primer over gloss or sealed paint | Never recommended | Bond fails at the paint interface |
Insufficient Adhesive Coverage, Seams and Edges
Seams lift first because they are the weakest point in every panel. A joint carries two sheet edges and usually the least adhesive.
Paste is commonly applied thinner at edges, and seams sit exactly where steam enters. Each shower cycle softens the film, and each cooldown re-cures it in a slightly opened position, so the joint creeps wider over time.
Press a dry thumb against the seam. A soft, tacky feel means the paste never fully cured; a hard, papery feel means the bond already failed and dried out. If you are asking why are wallpaper seams lifting in the bathroom, coverage and moisture cycling are almost always the paired cause.
How to Diagnose the Likely Cause of Your Peeling
Diagnose by failure pattern first. Where the covering fails tells you more than how badly it is failing.
Step 1: Map the Failure Pattern
Photograph the wall and mark every failing point. Seam-only lift points to adhesive coverage; broad panel release points to substrate or primer; bubbling points to moisture sitting behind the covering.
Step 2: Test the Substrate
Take a moisture reading at the failure zone and compare it with a known dry area. If the failing patch reads consistently wetter, water is travelling behind the covering and the cause is structural.
Tap the wall as well. A hollow or drummy sound over plaster or gypsum means the substrate layer itself has separated from its base.
Step 3: Match the System
Compare the wallcovering data sheet against the primer and adhesive that were actually used. If any one of the three is wrong, the system is wrong — and the failure will repeat.
In our inspection work, including VELORA's sampling programme across residential bathroom installs, the same three-step diagnostic is applied: identify the failure pattern, test substrate moisture at the failure zone, then check primer and paste compatibility against the wallcovering data sheet (method: three-step visual and substrate diagnostic; sample set: multiple residential bathroom wallcovering inspections).
Why wallpaper peels is usually answered by the pattern itself. In the installs we have reviewed, seam and edge lift accounted for the majority of early failures, with substrate moisture and missing primer as the most common underlying drivers (field observation, in-service bathrooms, 0–36 months post-installation).
Map every failure point: seam-only, broad lift, or bubbling.
Test substrate moisture at the failure zone against a dry reference point.
Check primer type against the wallcovering data sheet.
Check adhesive class against both the primer and the wallcovering.
Confirm extract fan performance and post-shower run-time.
Local Repair vs Full Removal: When Each Makes Sense
Repair locally only when three conditions are true at once: the substrate is dry, the wallcovering is intact, and the failure is limited to seam edges. If any one of those is false, a re-stick is a cover-up.
If moisture has travelled behind the panel, the repair will lift again within weeks of the next humid cycle. Removal and substrate correction costs more upfront but addresses the cause rather than the symptom.
Choose local repair if the failure covers under roughly 10% of the wall area and a moisture reading at the fault matches a dry reference point. Choose full removal if the covering has failed across multiple panels, if the wall reads damp, or if a previous repair has already failed once.
| Condition found | Local repair | Full removal |
|---|---|---|
| Substrate dry on moisture meter | Yes — repair | Not required |
| Failure limited to seam or edge | Yes — repair | Optional |
| Broad lift across panels | No | Recommended |
| Damp or powdery substrate | No | Required |
| Repeat failure after one repair | No | Recommended |
Bathroom Wallpaper Peeling Prevention Checklist
Prevention is a sequence, not a product. Get the substrate right first, then the primer, then the adhesive, then the seams — in that order.
Run the extract fan during and for 15–20 minutes after every shower.
Check substrate moisture with a meter before priming; do not rely on touch.
Wash walls with a degreaser and rinse fully — no dust, soap film or old paste.
Prime with a moisture-tolerant, stain-sealing primer matched to the adhesive.
Use a bathroom-rated adhesive system and apply it at full coverage, including edges.
Seal seams and edges with a compatible seam adhesive.
Let the covering cure in low humidity before returning to normal shower use.
The order matters more than the products. A premium adhesive on a damp, dusty wall performs worse than a mid-range adhesive on a properly prepared one.
FAQ: Bathroom Wallpaper Peeling
- Why is my bathroom wallpaper peeling at the seams?
- Edge lift usually traces back to insufficient paste at the seam, contamination from old paste, or repeated humidity cycling that opens the joint. If the lift follows ceiling lines and corners, suspect moisture; if it follows seam lines only, suspect adhesive coverage.
- Can humidity alone make wallpaper peel?
- Sustained humidity and steam soften standard pastes over time, especially near the shower and at the ceiling line. Humidity is rarely the only factor, but it is almost always part of the picture in a bathroom.
- Can poor wall preparation cause wallpaper failure?
- Yes. Dust, old paste, gloss paint, soap film or unsealed gypsum stop the new paste from gripping. Preparation failures usually show as broad lifting rather than a localised seam lift.
- Do I need special adhesive for bathroom wallpaper?
- Pair a bathroom-rated wallcovering with a moisture-resistant adhesive and a compatible primer. Standard cellulose paste softens under steam, so the system has to be matched end to end.
- Why does bathroom wallpaper bubble after showering?
- Steam enters at edges and micro-gaps, the paste film softens and expands, then contracts as the room cools. The cycle produces bubbles that do not fully disappear overnight.
- Should I repair or strip peeling bathroom wallpaper?
- Repair locally only when the substrate is dry and sound and the wallcovering is intact. If the paste has failed across multiple panels or the wall is damp, removal and substrate correction is faster and longer-lasting.
If peeling returns after one repair, the substrate is the suspect — not the adhesive.
When bathroom wallpaper peeling comes back after a single repair, treat the substrate as the suspect and work outward from the wall. Substrate preparation, primer compatibility and ventilation are the three levers that decide how long any wallcovering stays put — and all three are cheaper to fix before installation than after.