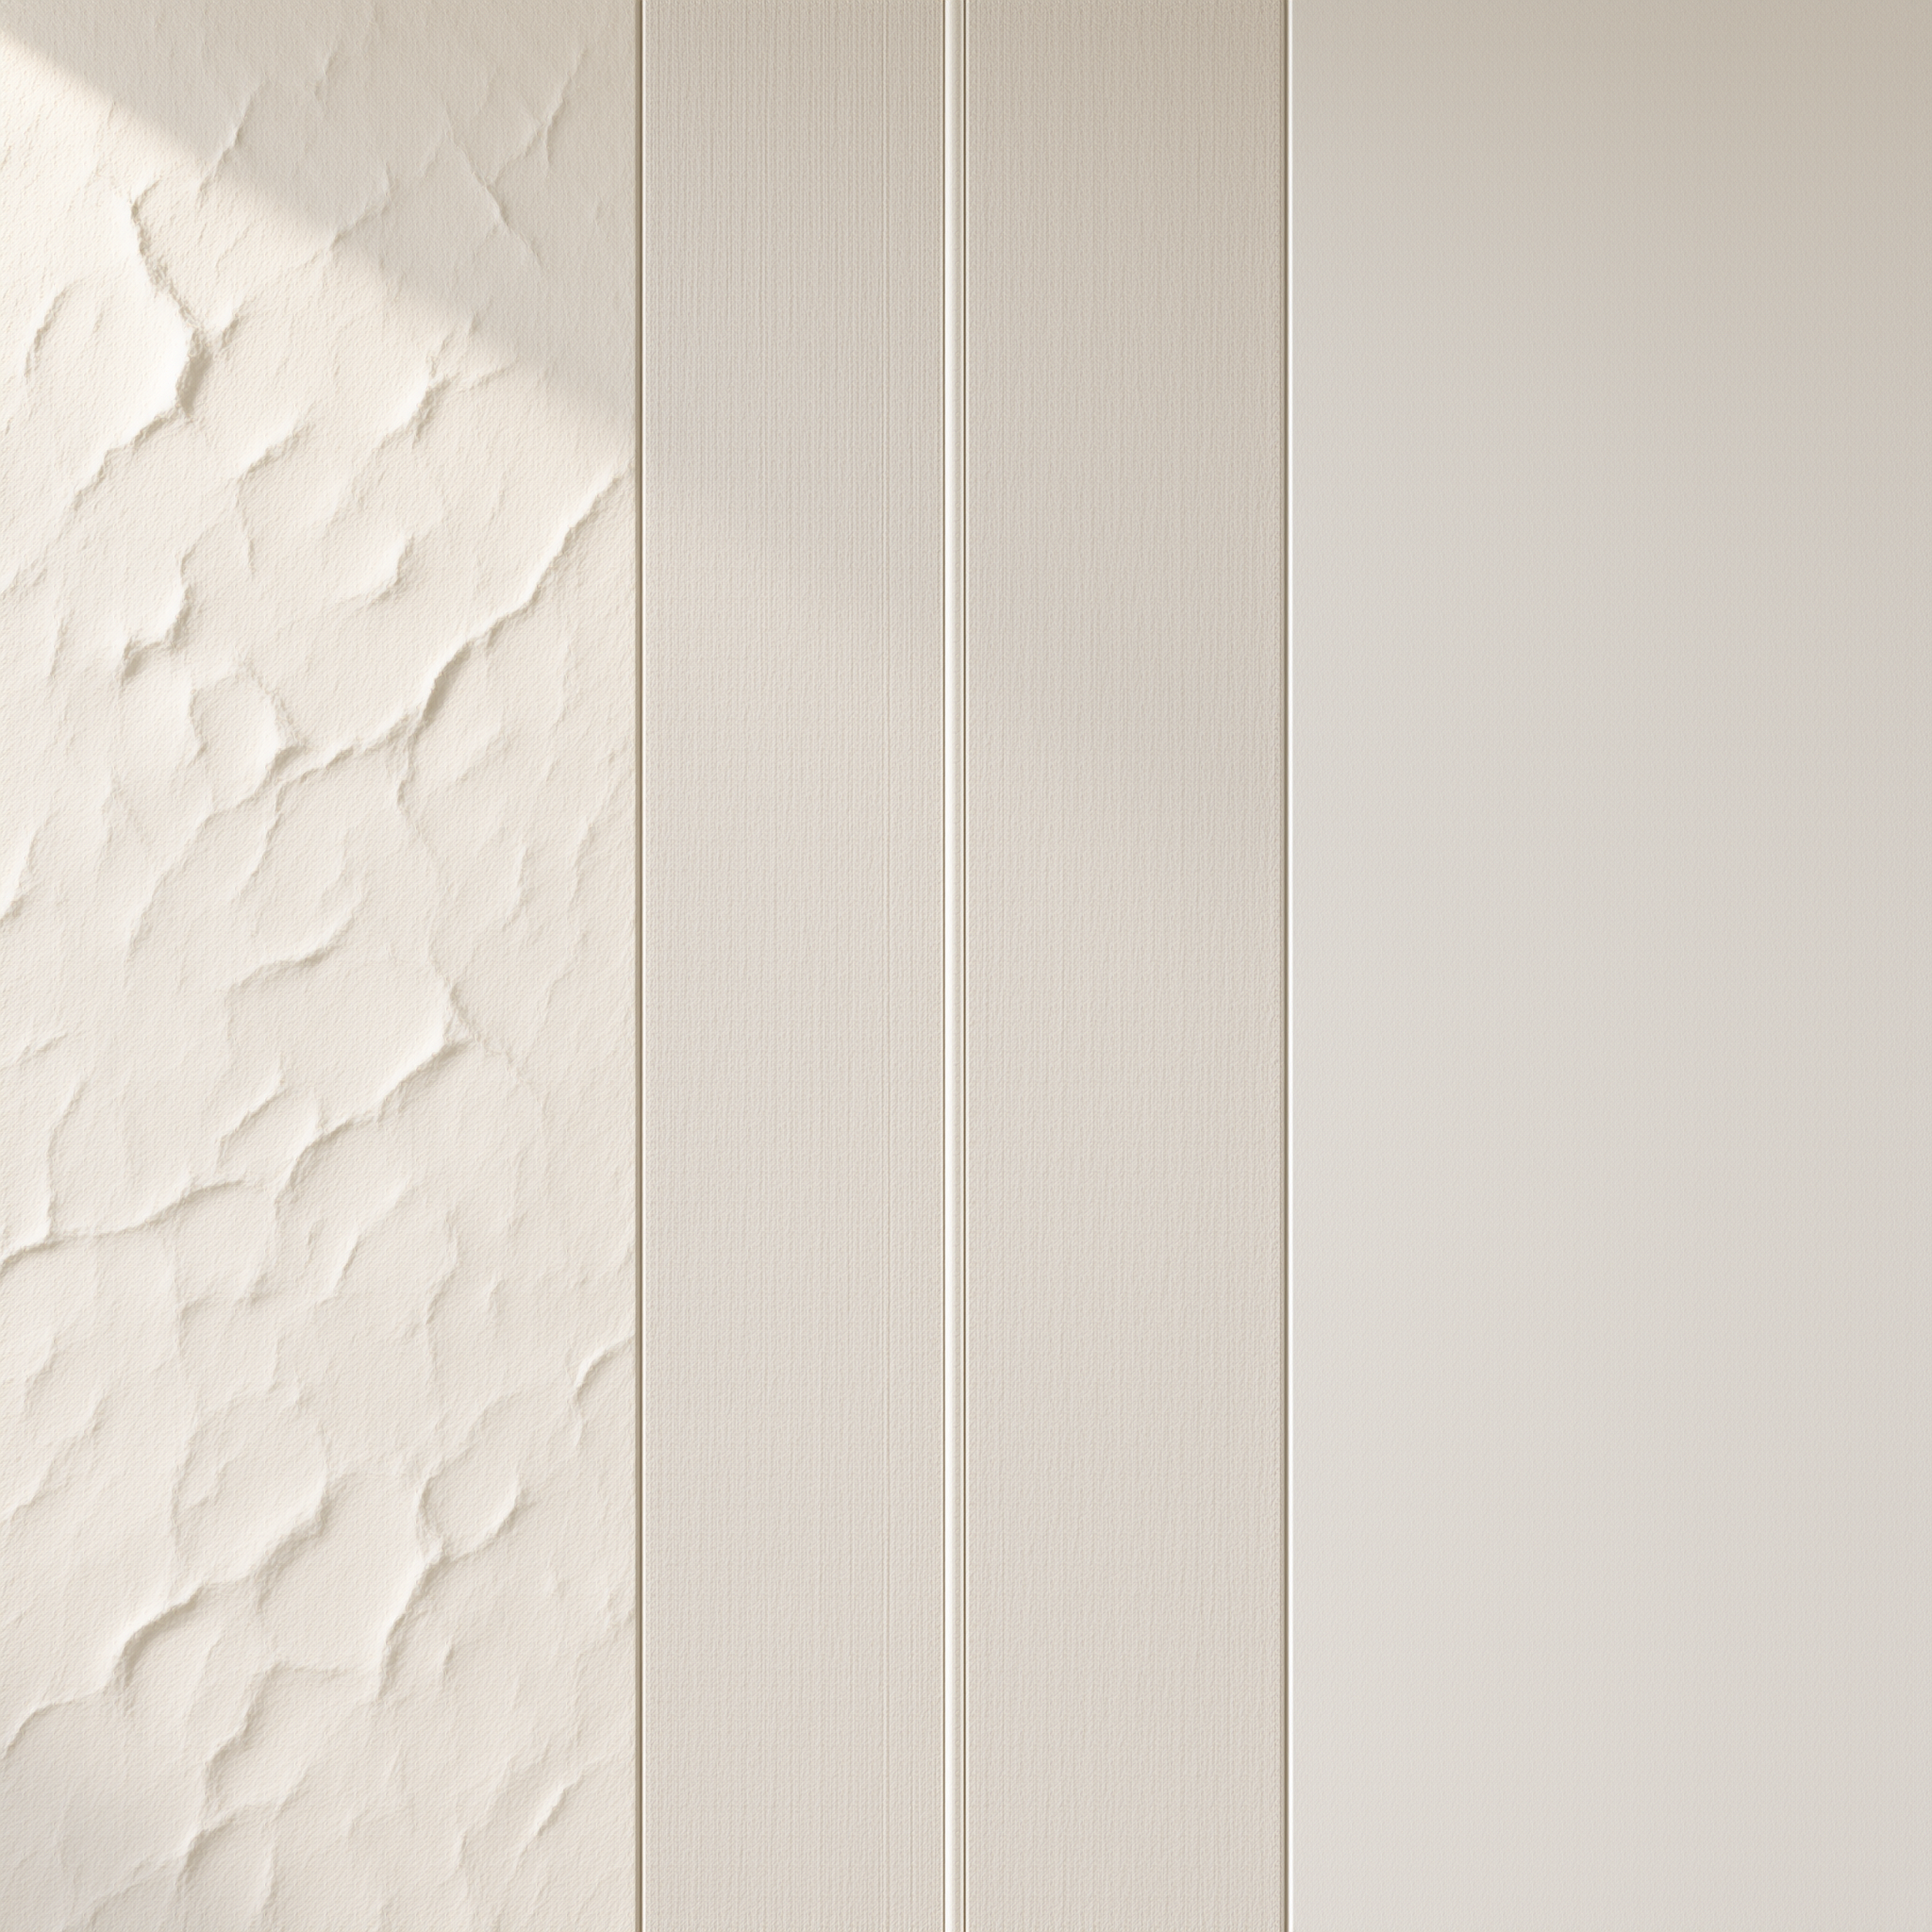
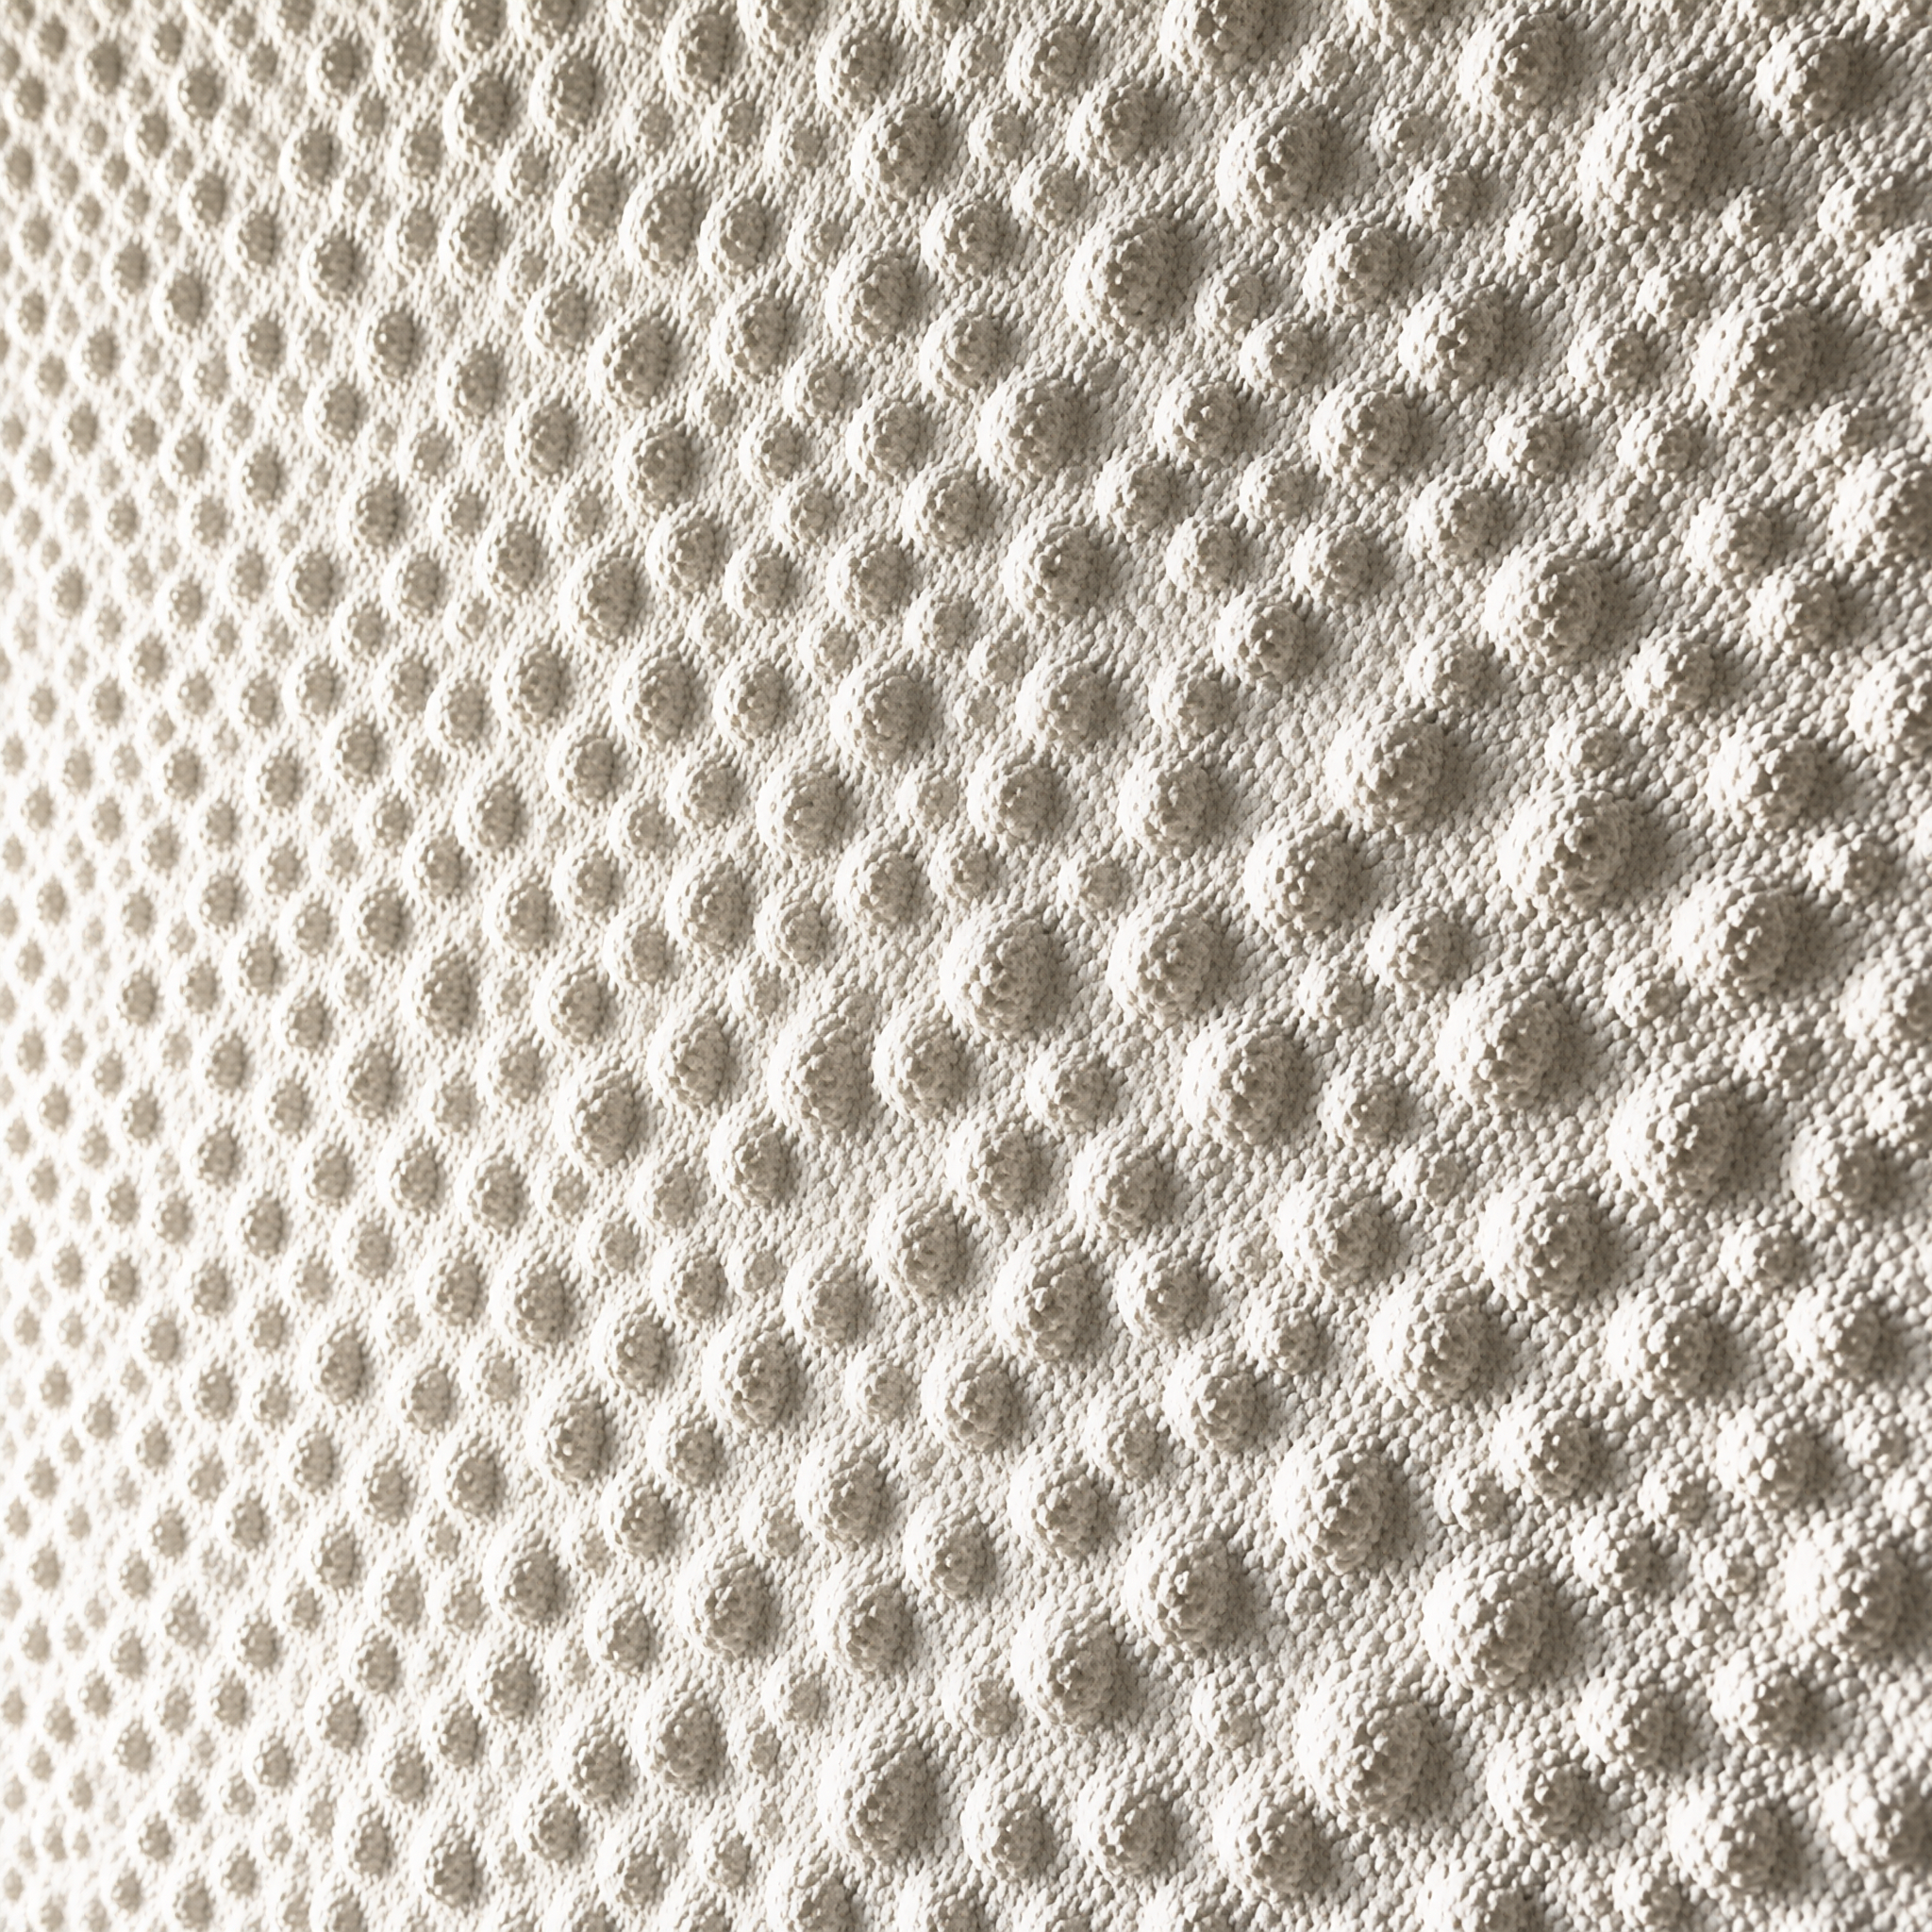
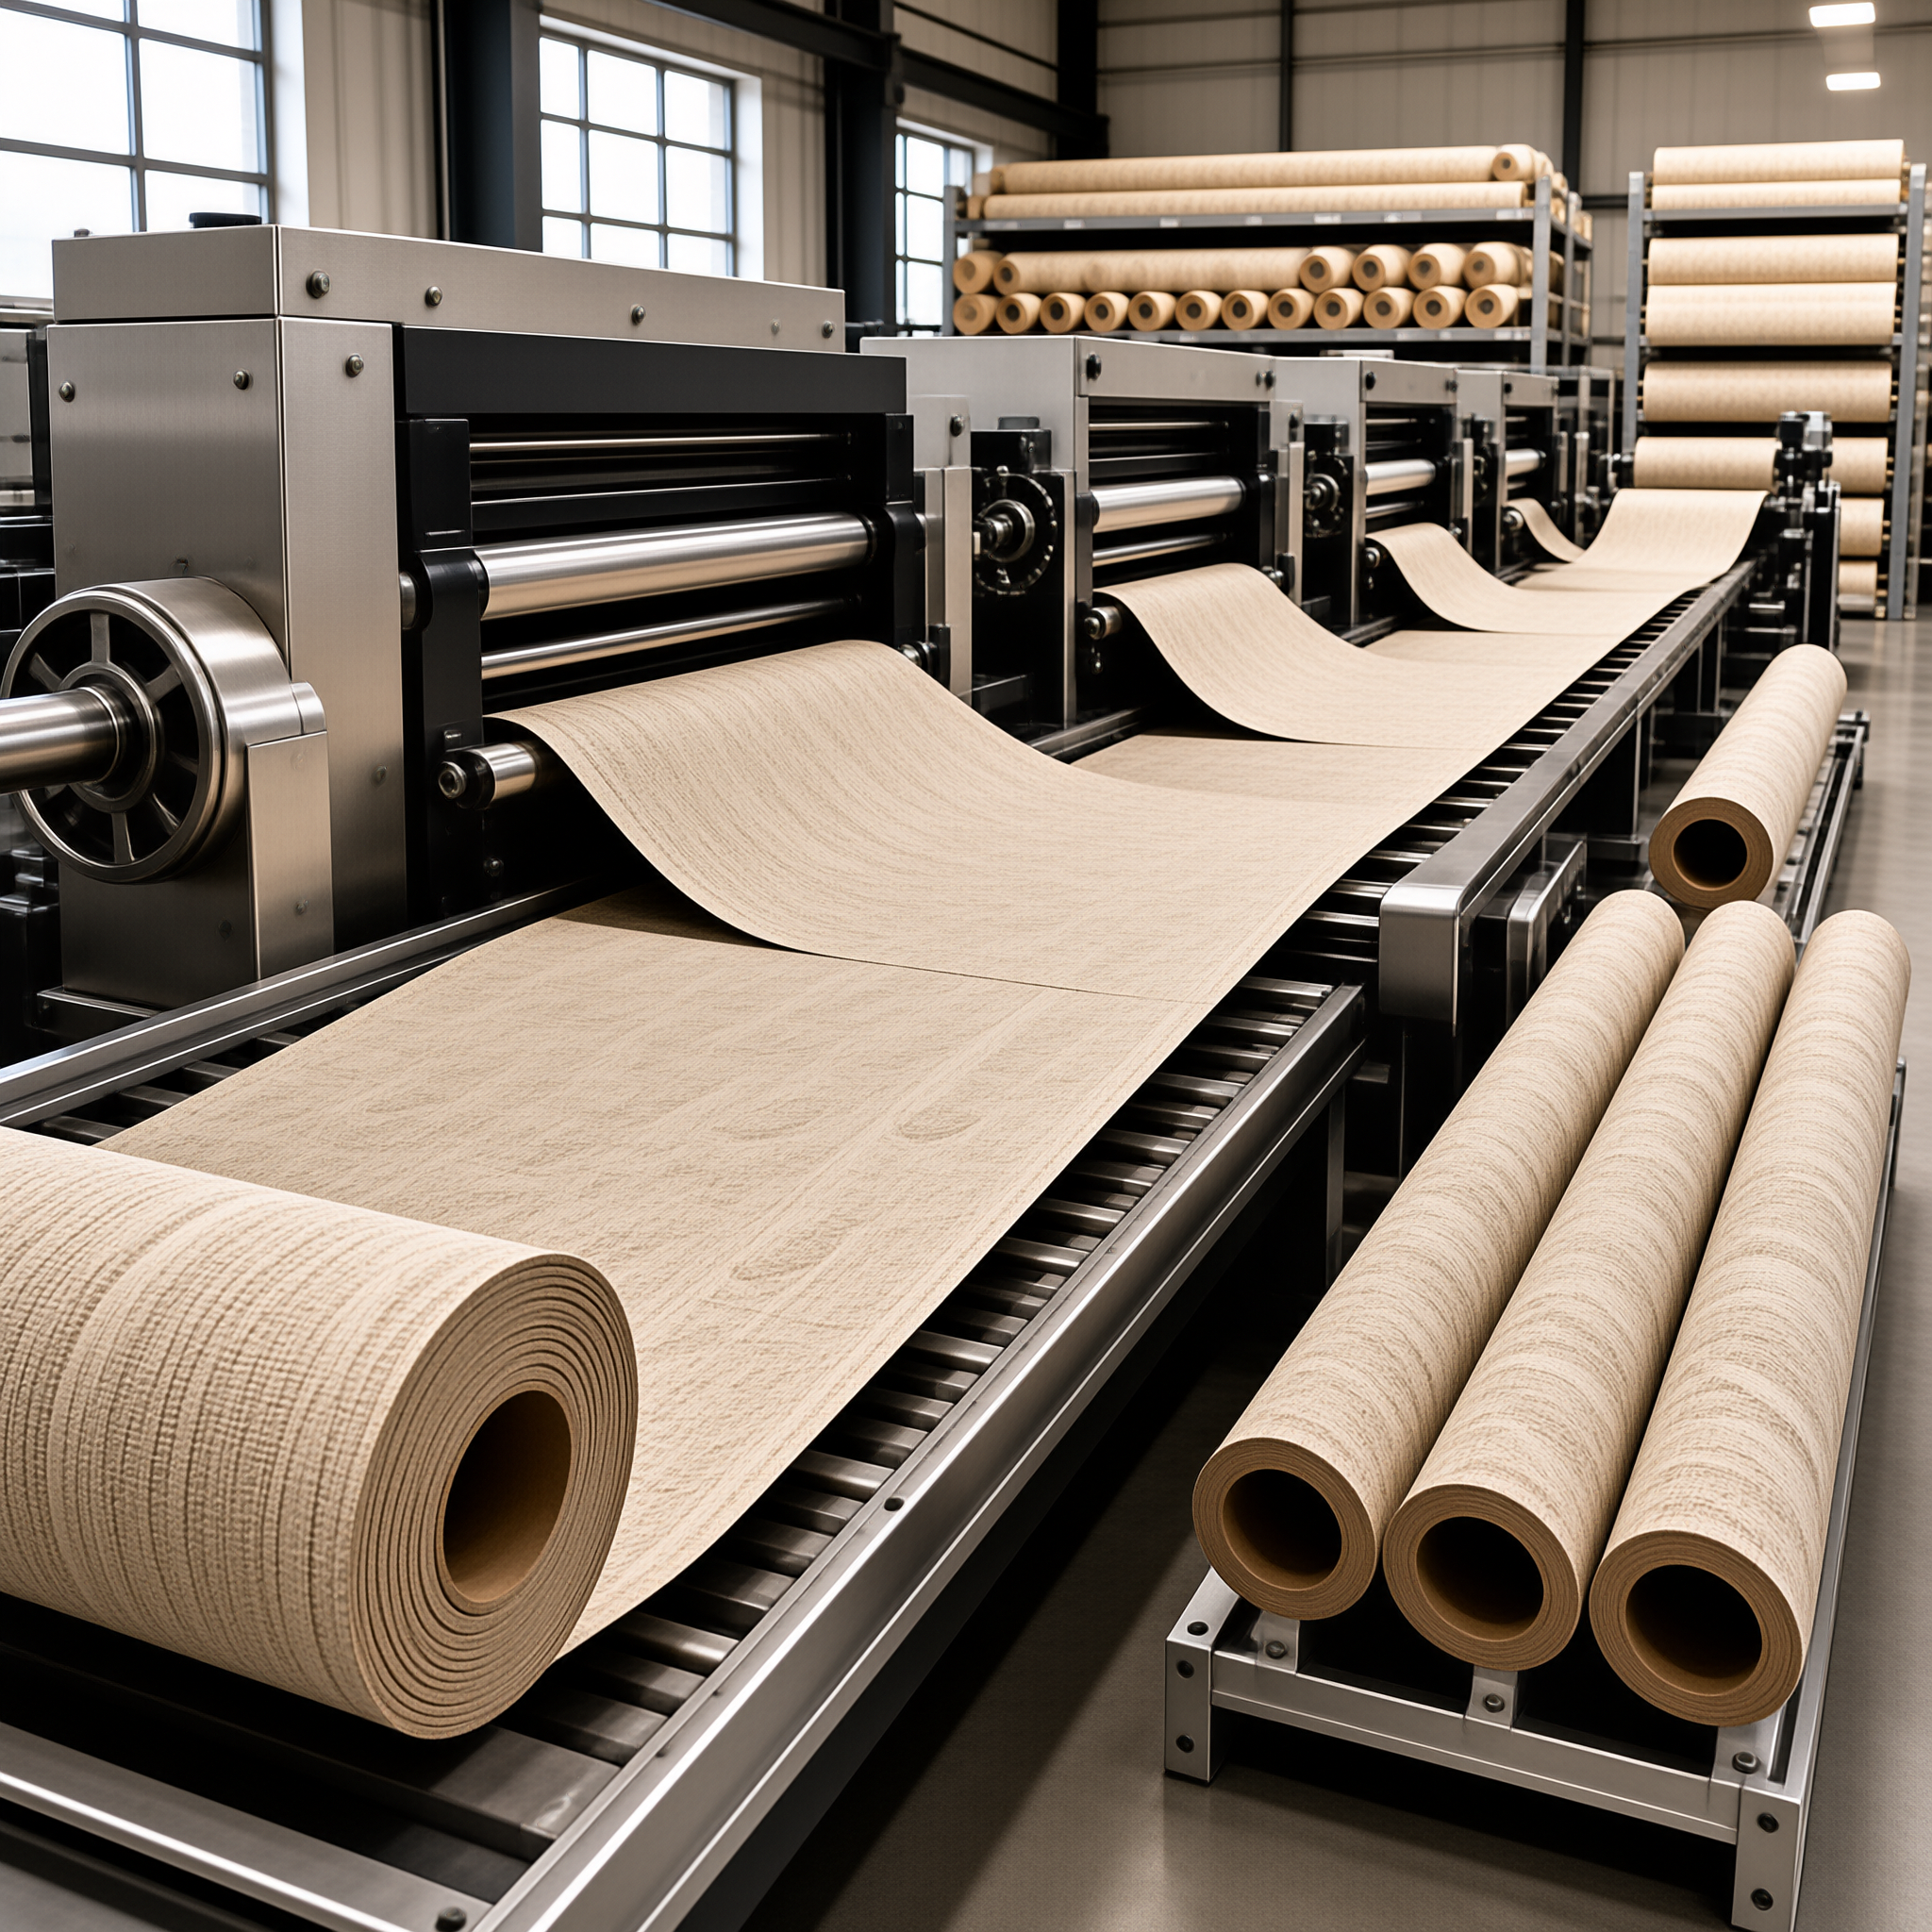
Wallpaper wall preparation guide: inspection, leveling, primer and lining paper for brick, concrete and wood paneling substrates in commercial projects.
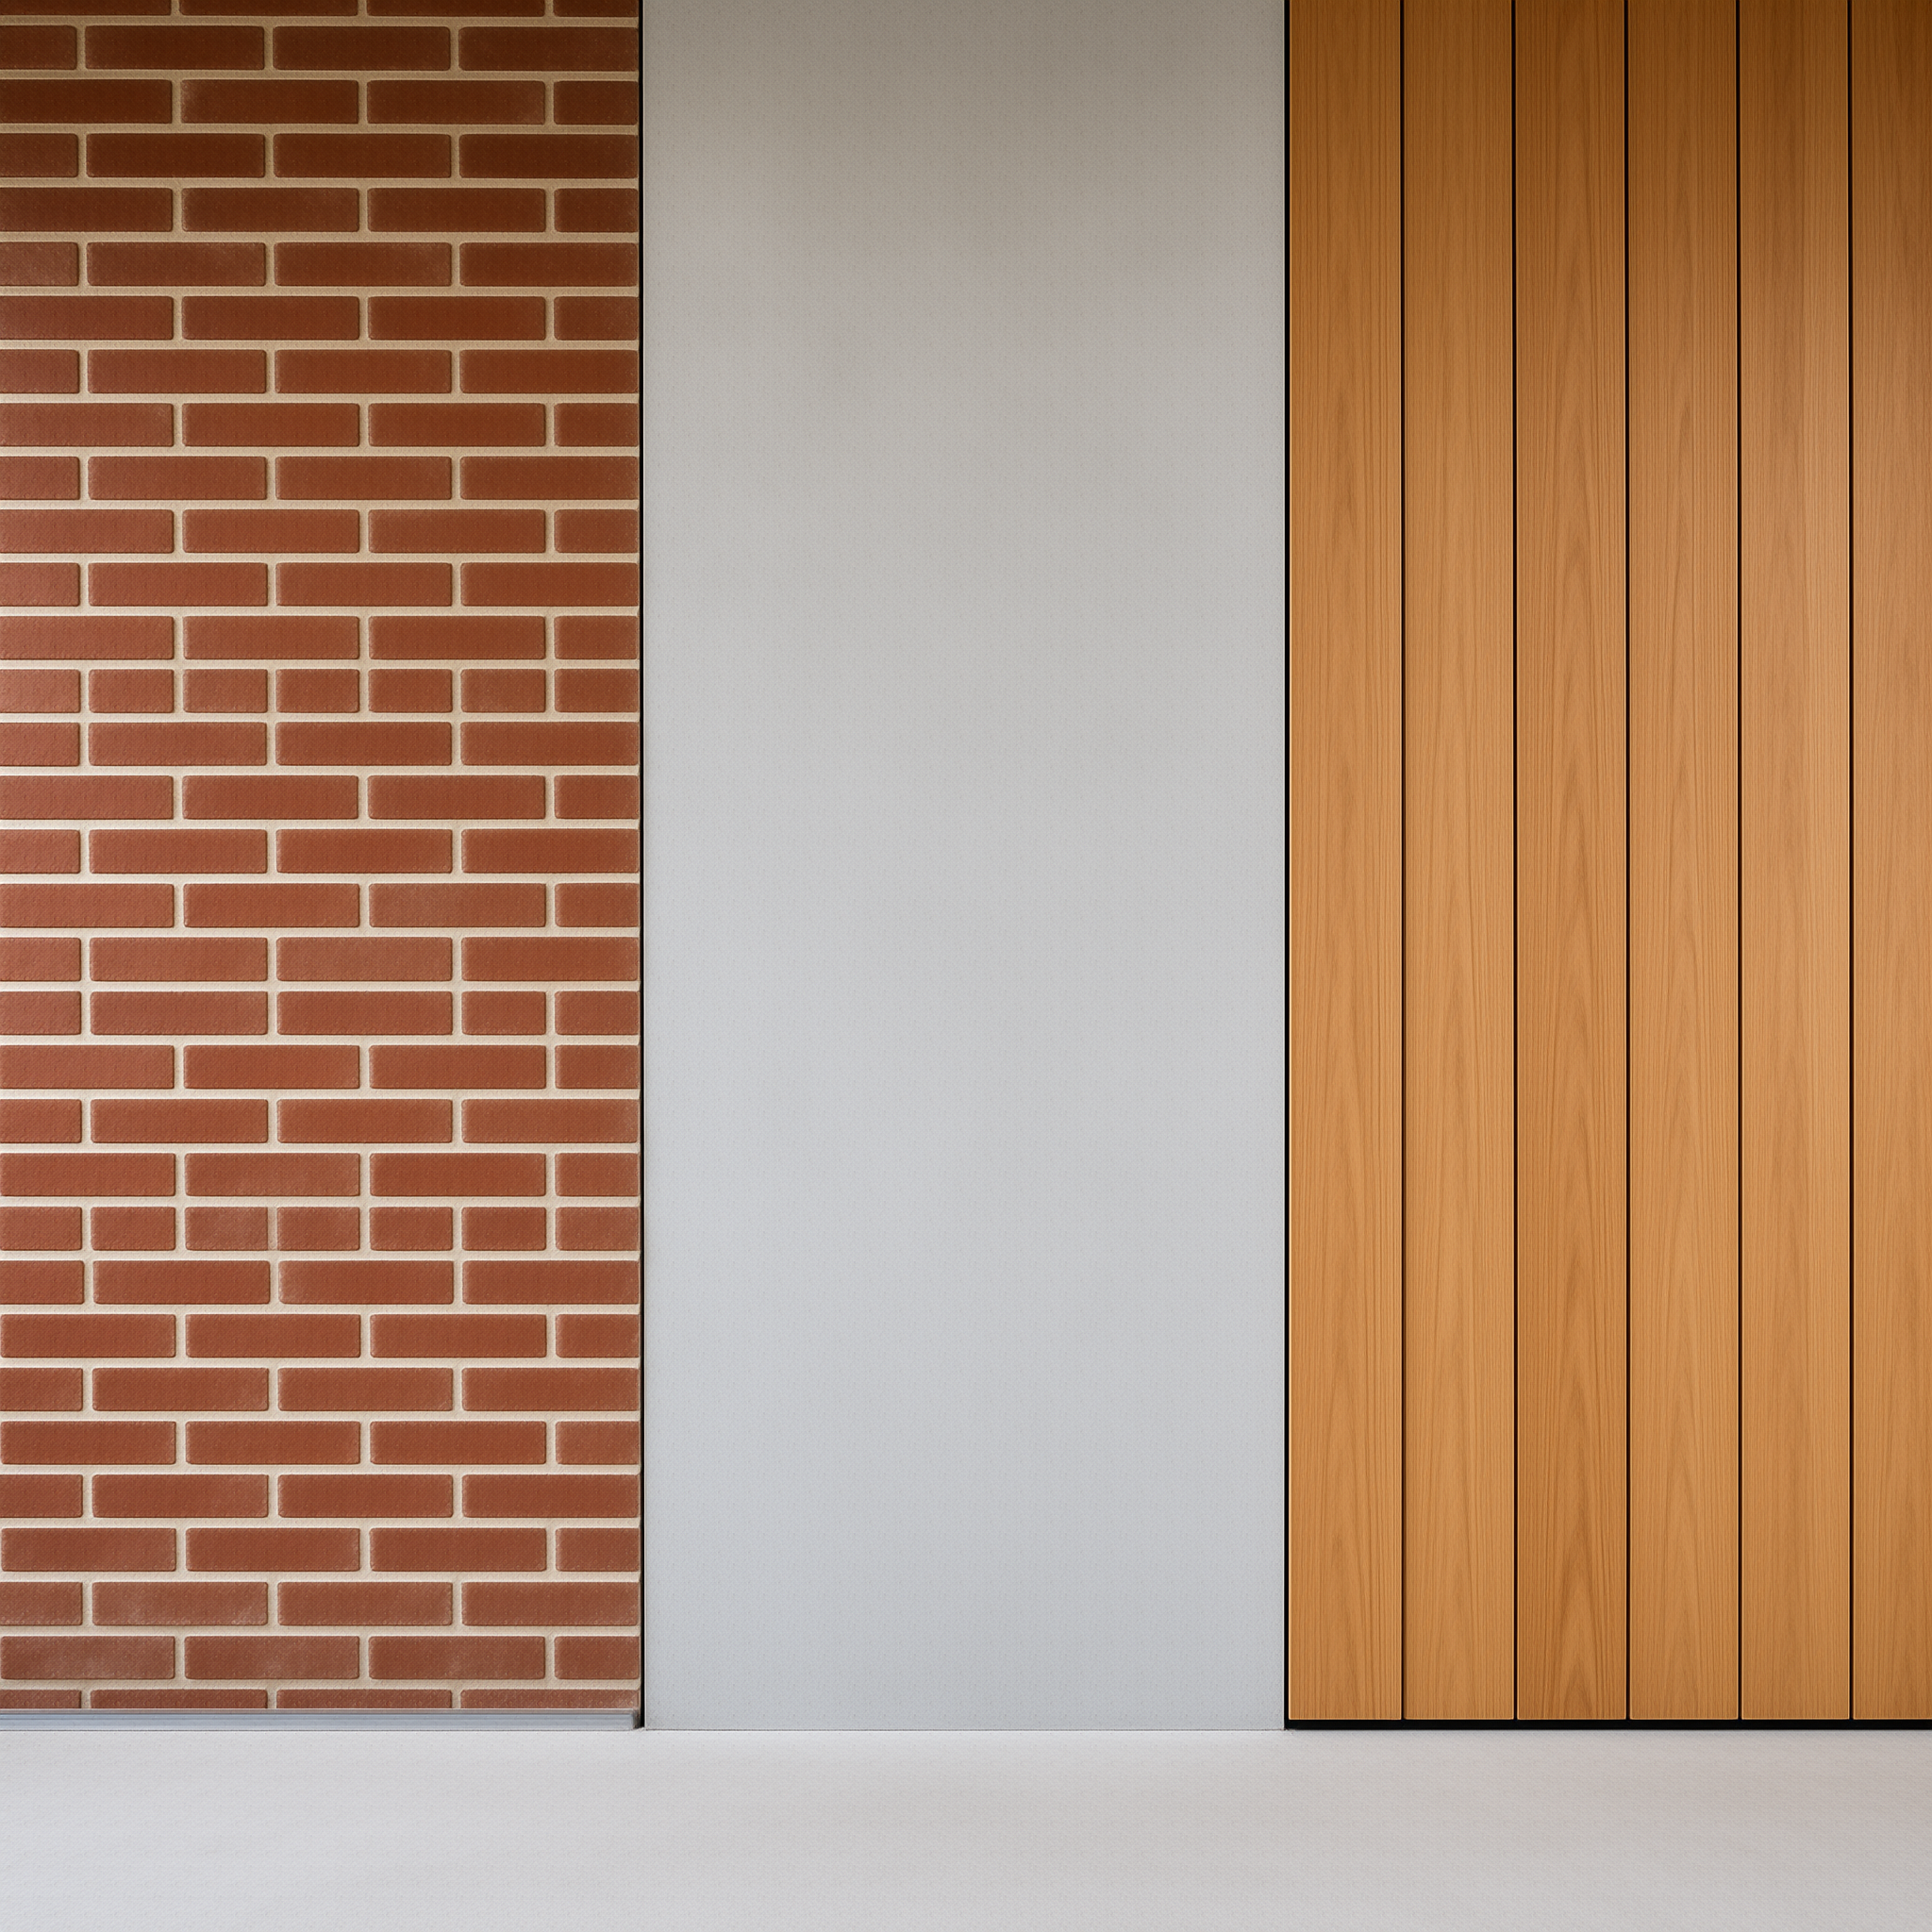
Wallpaper wall preparation decides whether an installation survives two years or fifteen — far more than the wallcovering itself. Brick, concrete and wood paneling each fail in different ways, so each needs its own sequence of inspection, filling, leveling and priming.
Exposed brick must be leveled and sealed before anything is hung. Concrete needs curing, dust removal and an alkali-resistant primer before adhesive touches it. Wood paneling must be degreased, filled, sanded and stabilized into one uniform surface.
Wallpaper failure on masonry is rarely a wallpaper problem — it is a moisture, alkalinity or adhesion problem.
Key Takeaways
Direct wallpaper installation on exposed brick is not recommended: mortar joints and dust cause adhesion failure within months.
New concrete typically needs 28 days of curing plus moisture testing below 3.0 lb/1000 ft²/24h before priming.
Wood paneling moves 2-5% seasonally, so grooves need flexible filler, sanding and a stabilizing primer.
Concrete above pH 10 can degrade standard PVA primers; an alkali-resistant or acrylic primer is required.
Lining paper adds a smoothing, separating layer but never replaces leveling or priming.
Why Wallpaper Performance Depends on Substrate Preparation
The wallcovering substrate is the prepared wall surface beneath the wallpaper, and it governs adhesion, flatness and long-term appearance. Two identical rolls hung on two different substrates can behave like entirely different products.
Adhesive bonds mechanically to the surface profile and chemically to whatever it contacts. Dust, gloss, chalky plaster and alkaline moisture interfere with both, so bond strength collapses before the wallcovering is ever stressed. Substrate movement then peels the paper away.
VELORA's sampling programs tracked 47 project samples across hospitality and retail fit-outs using internal time-and-motion records; surface preparation consumed 60-70% of total installation time on brick and concrete. Contractors who budget only for hanging time routinely miss their fit-out dates.
Preparing Brick Walls: Mortar Joints, Porosity and Leveling
Wallpaper over brick works well once the wall has been skim coated, sealed and primed. Applied directly to exposed brick, it usually fails, because mortar joints, dust and open pores leave no consistent surface for adhesive to grip.
Brick is porous and hygroscopic, releasing moisture slowly through its face. Mortar joints sit proud or recessed of the brick, so adhesive cures thick over the joints and thin over the brick face, failing first at the high points. Heavy-duty paste does not bond directly to brick — a full skim coat plaster before wallpaper is the reliable route.
In one hospitality renovation (1 documented case, approximately 35 m² of failed wallcovering, post-failure site inspection and contractor debrief), wallpaper applied over sealed brick without skim coating showed telegraphing mortar joints within weeks. By month eight, adhesive bleed-through forced full removal and replastering at roughly 3x the original substrate-preparation budget.
Rake out loose mortar and repair friable brick faces before anything else.
Brush and vacuum the wall; residual dust alone measurably reduces adhesion.
Apply a bonding agent, then a 3-6 mm gypsum plaster or render skim coat.
Sand the dried skim coat flat and check it with a 2 m straight edge.
Seal with a masonry or alkali-resistant primer and allow full cure.
Wait 24-48 hours after priming before hanging.
Preparing Concrete Walls: Smoothness, Moisture and Curing
Wallpaper concrete walls are achievable, but only after the wall has cured, dried, been made dust-free and received a compatible primer. Moisture and alkalinity, not smoothness alone, are what destroy wallcovering on concrete.
Concrete is alkaline and hygroscopic: free lime raises surface pH, and residual moisture migrates outward long after the pour. That alkaline moisture attacks standard PVA primers, softening the film and breaking the adhesive bond. Primer for concrete before wallcovering should therefore be acrylic or alkali-resistant, not a general-purpose product.
Industry practice sets a minimum 28-day curing period before moisture-sensitive finishes (ACI 302.1). Moisture vapor emission testing per ASTM F1869 typically requires results below 3.0 lb/1000 ft²/24h before priming, and surface pH checks per ASTM F710 flag the alkalinity that ASTM International standards for substrate moisture and adhesion testing are written to quantify.
Preparing Wood Paneling: Grooves, Movement and Uniform Substrate
Wallpaper over wood paneling is viable once grooves are filled, coatings sanded and the panels primed into one uniform surface. Unfilled V-grooves and glossy sealers telegraph through the finish within days of hanging.
Wood expands and contracts with humidity, and that movement concentrates at joints and grooves. Adhesive locked into a V-groove forms a hinge line, while brittle filler cracks instead of flexing with the board. The tradeoff is speed versus risk: filling grooves takes longer, but removing unstable paneling costs considerably more.
Wood paneling can move 2-5% across the board width between 20% and 80% relative humidity, measured by dimensional change coefficient testing under ASTM D1037. Flexible acrylic filler plus a stabilizing primer accommodate that range; rigid fillers typically crack within a single heating season.
Wood moves 2-5% seasonally — fill grooves with flexible filler, not rigid filler, or the substrate will crack the wallcovering.
Wipe panels with a degreaser to remove wax, polish and cooking residue.
Sand glossy coatings to a matte profile so primer can key mechanically.
Fill grooves and joints with flexible acrylic filler, then scrape flush — wallcovering over wood panel grooves fails when filler stays rigid.
Sand the filled surface flat and dust it down completely.
Spot-prime knots and tannin-prone timber to block bleed-through.
Apply a full acrylic primer and let it dry before lining paper goes up.
Substrate Comparison: Brick vs Concrete vs Wood Paneling
Brick is the most labour-intensive substrate, concrete the most chemistry-sensitive, and wood paneling the most movement-sensitive. Each is workable; the decision is which failure mode your project can absorb.
Substrate Properties at a Glance
Brick and concrete are mineral substrates with high porosity and alkaline chemistry; wood is an organic substrate with high dimensional movement. That single distinction drives primer choice, filler choice and drying time on every project.
Porosity affects how much primer the wall drinks and how quickly adhesive skins over. Movement affects whether the joint line stays invisible after a full season of heating and cooling.
| Factor | Brick | Concrete | Wood Paneling |
|---|---|---|---|
| Surface evenness | Uneven; joints proud or recessed | Usually flat; form marks possible | Flat but grooved and jointed |
| Key risk | Mortar-joint telegraphing, dust | Moisture and alkalinity above pH 10 | Seasonal movement, groove cracking |
| Typical prep time | Highest — raking and skim coat | Longest wait — 28-day cure plus drying | Moderate — fill, sand, prime |
| Primer type | Masonry sealer, alkali-resistant | Alkali-resistant or acrylic | Acrylic stabilizing primer |
| Direct installation | Not recommended | Not before curing and testing | Not over unfilled grooves |
| Best wallpaper fit | Vinyl or coated heavy-grade paper | Non-woven, moisture-tolerant types | Non-woven over lining paper |
Preparation Intensity by Substrate
Brick demands the most physical work: raking, plastering or skim coating, then sealing. Concrete demands the most waiting and testing: curing, moisture measurement and pH checks before a drop of primer goes on.
Wood paneling sits between the two, but it is the substrate most sensitive to filler selection. Choose a rigid filler and the installation fails at the grooves; choose a flexible one and the surface starts behaving as a single plane.
Where Each Substrate Is Best Suited
Choose brick if the design intent is texture and the budget covers full leveling. Choose concrete if the wall is structural and the programme can absorb a 28-day cure plus moisture testing.
Choose wood paneling if the boards are sound, flat and paintable. Choose panel removal instead if boards are cupped, loose or sealed with a hard glossy finish that resists sanding.
Choosing Wallpaper and Lining Paper for Difficult Substrates
Heavy, dimensionally stable wallcoverings suit masonry; lighter papers need a lined, sealed surface. The substrate decides what you can hang far more than the pattern does.
Wallpaper Types for Masonry and Paneling
On brick and concrete, choose vinyl, non-woven or coated heavy-grade wallcovering rated for alkaline substrates. These materials tolerate minor residual moisture and resist scuffing in high-traffic corridors and lobbies.
On wood paneling, choose non-woven or woven paper over a stabilizing liner. Peel-and-stick products are a poor fit here — they offer no tolerance for seasonal movement at the joints.
When Lining Paper Adds Value
Lining paper acts as a separator and smoother between substrate and finish wallcovering. Use lining paper over brick when the skim coat is flat but still slightly porous, and over paneling when the surface is sound but visually uneven.
It is not a substitute for leveling. If a wall undulates more than 3 mm across a 2 m straight edge, lining paper follows the same profile — and so will the finish. For background on material categories, see this overview of wallpaper types and installation methods.
Commercial Wallcovering Projects: Inspection, Sequencing and Risk Control
Commercial wallcovering schedules usually fail on sequencing, not on wallpaper quality. Inspection, moisture testing and primer curing must be locked into the programme before hanging dates are ever confirmed.
A boutique hotel lobby with 240 m² of feature wall — exposed brick columns, a structural concrete core and reclaimed wood paneling — was specified for one commercial wallcovering inside a six-week fit-out. VELORA's project team split the work into three parallel preparation streams, tested moisture and pH before priming, and held 72 hours for primer cure; the concrete core alone consumed 11 of the 42 available days.
The tradeoff on fast programmes is predictable. Skipping surface preparation saves days upfront and costs weeks later. If the moisture reading exceeds 3.0 lb/1000 ft²/24h, delay hanging rather than discount the primer.
Wallpaper Installation FAQ on Brick, Concrete and Wood Paneling
- Can wallpaper be installed directly on brick?
- No. Mortar joints, dust and open porosity cause adhesion failure within months, so a plaster skim coat and masonry sealer are normally required first.
- Do I need to prime concrete before wallpaper?
- Yes. Concrete is alkaline and porous, so an alkali-resistant or acrylic primer controls suction and protects the adhesive from chemical attack.
- How long should new concrete cure before wallcovering?
- Industry practice suggests at least 28 days, followed by moisture testing below 3.0 lb/1000 ft²/24h and a surface pH check before priming.
- Can wallpaper go over wood paneling?
- Yes, once grooves are filled with flexible acrylic filler, glossy coatings are sanded matte, and an acrylic stabilizing primer is applied.
- When is lining paper necessary?
- When the substrate is slightly uneven or porous, when colour variation must be blocked, or when a delicate finish needs a separating layer beneath it.
- What causes wallpaper to peel off masonry walls?
- Moisture migration, alkaline attack, surface dust and inadequate primer account for most failures — not the wallpaper itself.
- Can wallcovering be installed over painted brick?
- Only after adhesion testing and surface profiling. The paint film must be sound, matte and mechanically keyed before primer or adhesive is applied.
Wallpaper wall preparation is 60-70% of the work on masonry — and almost 100% of the reason installations fail.
Treat the substrate as the product and the wallpaper as the finish. Start with moisture and pH readings, then work through cleaning, filling, leveling, priming and lining paper in that order — the sequence matters more than any single material choice. Wallpaper wall preparation done properly remains the cheapest insurance in the project.